

I was tip-toeing through the hallway for a midnight glass of water when it happened. *Skreeee.* A high-pitched, wood-on-wood shriek that sounded like I’d stepped on a mouse. Except there was no mouse. It was my baseboards. For months, I’d been blaming my subfloor, convinced I needed a full flooring installation from planning to perfect finish to stop the noise. I was wrong. It wasn’t the floor; it was the trim rubbing against the wall studs and the floorboards like a rusty violin.
The 2 AM Ghost That Lived in My Trim
After that night, I went on a crusade. I tried everything. I hammered extra finish nails straight into the wall. I even tried shoving shims into gaps, which only made my baseboards makeover look like a total disaster. The problem is that wood is alive. It breathes, it moves, and it definitely complains. According to the Wood Component Manufacturers Association, even a 0.5% change in indoor humidity can cause wood trim to shift against its fasteners, leading to those annoying groans. My big mistake early on was ignoring the physics of it. I thought brute force—just more nails—was the answer. In reality, those nails just acted as tiny sliding poles for the wood to move up and down on. I spent three hours one Saturday firing nails into a single ten-foot stretch of hallway, only for the squeak to return by Tuesday. It was humbling, to say the least. [image]
Is This Tiny Noise Actually Worth a Weekend Project?
You might be thinking, “It’s just a squeak, can’t I just ignore it?” I thought so too, until the sound started waking up the baby and the dog started barking at the ‘ghosts’ in the walls. If you’ve invested in the perfect baseboards for your home’s style, the last thing you want is for them to sound like a haunted house every time you walk past. It ruins the premium feel of a room faster than a stained carpet. Have you ever felt that surge of frustration when a ‘simple’ home repair ends up making more noise than it fixes? Drop a comment if you’ve been haunted by a mystery floor sound!
Why Your Finish Nails Are Giving Up on You
The core of the issue is friction. When your house settles or the seasons change, your baseboards want to move independently of the wall. If they aren’t locked down with a ‘clamping’ force, they rub. Most DIYers—myself included—make the error of using standard nailing patterns. We drive a nail perpendicular to the wall. It might hit the stud, but it offers zero resistance to the board pulling away or sliding vertically. This is where flooring installation mistakes to avoid really come into play; if the trim isn’t integrated properly, the gap between the floor and the wall becomes a friction zone. Today, I’m going to show you why the ‘Angled-Pin’ tactic—driving nails in opposing 45-degree angles—is the only way to actually lock that trim in place so it stays silent through winter, summer, and every midnight snack run in between.
Find the Friction Before You Grab the Gun
Before you start firing nails like a carpenter on a deadline, you have to find the source of the noise. It’s rarely the whole wall. Usually, it’s one or two spots where the wood is just loose enough to vibrate against a stud or the floor. I treat this like finding a leak in a tire. I walk the perimeter with a slow, heavy step, using my heel to apply pressure. When I hear that familiar chirp, I mark it with a small piece of painter’s tape.
The Toe-Tap Test for Ghost Squeaks
Sometimes the noise isn’t coming from the wall at all. If you have carpet, the baseboard might be rubbing against the tack strip or the subfloor. In those cases, you might need to learn how to fix a squeaky subfloor through the carpet instead of just pinning the trim. But if the trim moves when you press it horizontally toward the wall, you’ve found your friction point.
Angle Your Nails to Kill the Movement
The mistake I made for years was driving nails straight in. If you drive a nail at a 90-degree angle to the wall, you’re creating a hinge. The wood can still slide in and out on that smooth metal shaft. To stop a squeak, you need a clamp. This is where the cross-pinning technique comes in. You fire one nail at a 45-degree angle pointing left, and another nail an inch away at a 45-degree angle pointing right. These nails form an ‘X’ inside the stud. This locks the board so it can’t move in any direction. 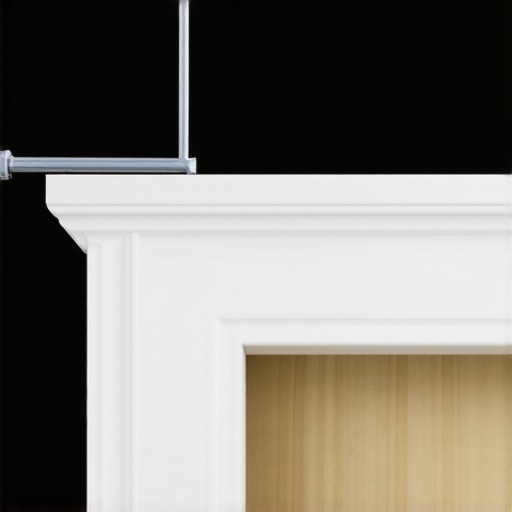
How 45 Degrees Stops the Sliding
I remember working on a high-end project with massive baseboard styles that elevate your interior design. They were heavy, expensive, and incredibly noisy. I initially tried the straight-nail approach, and by the next morning, the expansion from the heater had already pushed the boards out. I had to pull them back, which is one of the most common flooring installation mistakes to avoid if you want a professional finish. Once I switched to the ‘X’ pattern, the boards stayed put. For smaller, more delicate trim, you should use the pin nail secret for delicate baseboard moldings to ensure you don’t split the wood while creating that cross-locking force.
Fixing the Gap Without Ruining the Look
Sometimes the squeak lives at the bottom, where the baseboard meets the floor. If your floor isn’t perfectly level, the trim might be ‘bridging’ a gap, turning the board into a spring that squeaks every time someone walks nearby. Instead of just nailing it down harder and bowing the wood, you need to support it. Use the wood shim secret for baseboards on uneven slabs. By sliding a thin shim behind or under the board before nailing, you create a solid foundation. This eliminates the ‘bounce’ that causes the noise in the first place. It’s about filling the void, not just masking it. If you’re dealing with a particularly wavy wall, you might even need to utilize the back bevel move for tight baseboard miters to ensure the corners don’t pull apart and start their own chorus of squeaks as the house settles.Most “pros” will tell you to slam that baseboard tight against the floor to hide every possible gap. I used to do the same. But here’s the contrarian truth: if you pin your trim too tightly against a floating floor, you’re actually creating a ticking time bomb. Floating floors need to breathe and shift. When you pin the trim down like a vise, you’re essentially anchoring the edge of the floor, which leads to those mysterious “clicking” sounds later on. It’s one of those flooring installation mistakes to avoid that sounds counterintuitive until you see a floor buckle in the heat of July. If you’ve invested in durable flooring installation for a stylish home, you have to respect the expansion gap.
Why does your trim still click after you’ve nailed it into every single stud?
It’s likely because you missed the “Scribe.” Wavy walls are the enemy of silence. If the board is under tension because it’s being forced to follow a curved wall, it will always want to “spring” back. This tension is what creates that micro-movement every time you walk by. According to the National Wood Flooring Association (NWFA), failing to provide adequate expansion space is the leading cause of floor-related noise complaints. Utilizing the razor scribe method for baseboards on wavy drywall allows the wood to sit in a neutral position against the wall. No tension means no noise. 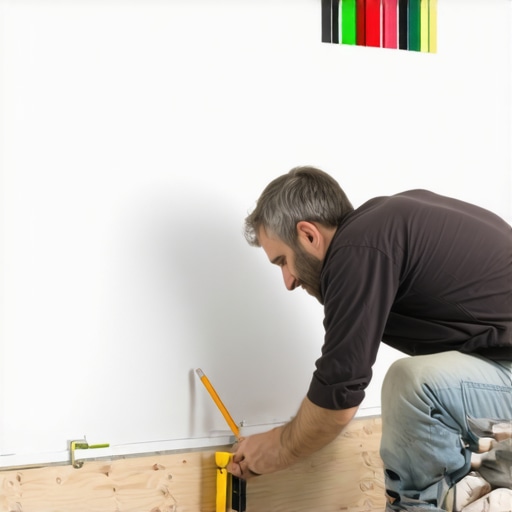
The Trap of Relying on Caulk for Structural Gaps
The biggest “Oops” factor I see is relying on caulk to bridge a gap larger than an eighth of an inch. Caulk is flexible, but it isn’t a structural adhesive. If you have a massive gap and just pump it full of white acrylic, it will eventually shrink and crack as the house breathes. This leaves the board unsupported, allowing it to vibrate. Instead of reaching for the tube first, you should use the double-butt method for fixing wide baseboard gaps or even the wood shim secret for baseboards on uneven slabs to create a solid physical connection. Only then should you apply your caulk and paint sequence for that flawless finish. Have you ever fallen into the “more nails equals less noise” trap only to find it made things worse? Let me know in the comments!I used to think a hammer and a prayer were enough to finish a room, but experience is a brutal teacher. If you want your home to stay silent and your bathroom to remain a sanctuary rather than a source of mold, you have to upgrade your toolkit and your mindset. After years of trial and error, I’ve realized that the difference between a ‘DIY’ look and a professional result often comes down to the gear you use when nobody is looking.
The Tiny Tool That Changed My Trim Game Forever
If there is one piece of equipment I’ll never go without again, it’s a 23-gauge pin nailer. When you are working with baseboard styles that elevate your interior design, the last thing you want is a massive 15-gauge hole that requires a gallon of wood filler. Using the pin nail secret for delicate baseboard moldings allows you to secure decorative caps and thin profiles with holes that are practically invisible to the naked eye. I personally use a Senco pneumatic pinner because its nose is narrow enough to reach into the tightest quirks of a profile, ensuring that ‘cross-pinning’ I mentioned earlier is actually surgical rather than sloppy.
Don’t Skip the Science of Subfloor Moisture
We often talk about the pretty parts of expert flooring installation tips for 2025, but we rarely talk about the invisible enemy: humidity. According to the Building Science Corporation, failing to account for the moisture content of a subfloor is the primary cause of fastener ‘withdrawal,’ which is just a fancy way of saying your nails will pop out and your trim will start squeaking. This is why I consider the moisture meter requirement for basement flooring jobs to be non-negotiable. If your subfloor is over 12% moisture and you pin your baseboards tight, that wood will eventually cup and pull the nails right out of the studs. 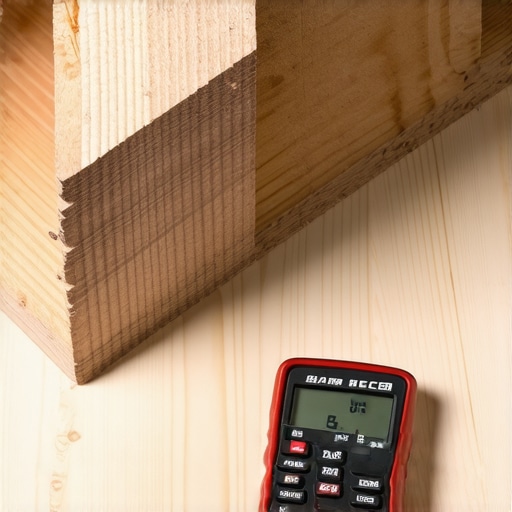
How Do I Keep My Installation Quiet and Clean for the Long Haul?
Maintenance starts the moment the last nail is driven. For floors, I swear by the felt pad routine; it’s the only way to prevent furniture from vibrating the floor and loosening your trim work over time. For bathrooms, long-term success is all about preventing the rot before it starts. I always recommend the pre-seal move for grout. If you don’t seal that porous surface immediately, soap scum and hard water will penetrate the structure, leading to those costly shower repairs when to fix vs replace for longevity that every homeowner dreads.
The Future of High-Performance Home Surfaces
Looking ahead, I predict we are going to see ‘Smart Subfloors’ become the standard. We are already seeing moisture-sensing tape being used in high-end modern designs for a luxury feel. Imagine getting a notification on your phone that your shower pan has a micro-leak before it ever ruins your baseboards or your downstairs ceiling. Until then, we have to rely on our tools and our techniques. My challenge for you on your next project: don’t just drive nails straight in. Try the cross-pinning method on a single ten-foot stretch of baseboard and feel the difference in stability. It’s a small shift that yields a massive reward in silence.
The Silence I Only Found After Three Years of Mistakes
After countless late-night repairs and dozens of ‘trial and error’ attempts, I’ve realized that the most common mistake isn’t using the wrong nail, but misunderstanding how wood behaves under pressure. First, never assume your walls are straight; they are almost always bowed or uneven. If you don’t use the inside corner cope for perfect baseboard installs, the joints will inevitably open as the house settles and wood dries out. Second, the reason why your vinyl plank floor is clicking when you walk is often because the trim is pinned too tightly against the floor, preventing the ‘floating’ material from expanding naturally. Lastly, true silence isn’t a one-time fix; it’s the result of respecting the expansion gap during every expert flooring installation project.
The Gear That Makes You Look Like a Master Carpenter
If you want to move beyond basic DIY and achieve a high-end look, you need to invest in tools that prioritize precision over speed. I always keep a manual coping saw nearby because the coping saw technique for flawless inside baseboard corners is the only way to handle corners that aren’t a perfect 90 degrees. For longer runs, the laser level move isn’t just for bathroom tile; it ensures your baseboards stay perfectly level even when the floor beneath them has a slight dip, preventing that ‘wavy’ look across a room. Finally, a high-quality moisture meter is essential to ensure your subfloor is ready for trim before you ever fire the first nail.
Your House is Ready to Stop Complaining
Don’t let the fear of making a mistake keep you from enjoying a quiet, beautiful home. Every master carpenter started with a squeaky hallway and a bucket of wood filler. By focusing on the physics of the wood and the precision of your nailing angles, you can achieve a professional-grade flooring installation result that stays silent through every season. Your home should be your sanctuary, not a source of frustration. Go grab your nail gun and start with that one annoying spot in the hallway—you’ve got this. Have you ever discovered a ‘ghost’ squeak that turned out to be a simple trim issue rather than a structural problem? Let me know in the comments below!