

I’ll never forget the sound of my first hardwood floor screaming. It wasn’t a literal scream, of course, but the rhythmic pop and creak of oak planks fighting for space that simply didn’t exist. I had spent a whole weekend installing what I thought was a masterpiece, only to realize I’d made the most common of flooring installation mistakes: I gave the wood nowhere to breathe. By mid-summer, the center of my living room looked like a miniature mountain range. It was a heart-wrenching lesson in wood physics that cost me thousands. Today, I am going to show you how a pocketful of change and the ‘Penny-Gap’ rule can save your sanity and ensure a durable flooring installation for your home.
Give Your Wood Room to Breathe or Pay the Price
Wood is a living, breathing material. It absorbs moisture and expands when the humidity spikes, then releases it and shrinks when the heater kicks on in the winter. If you jam your planks tight against the drywall, that energy has nowhere to go but up. This is where the penny comes in. I used to think I could eye-ball it, but after that first failure, I realized that consistency is everything. Using a penny as a spacer ensures a minimum 1/16th to 1/8th inch gap that is easily hidden by baseboard styles later on. Even better, it forces you to respect the perimeter, which is the most overlooked part of any project. Don’t forget that even the best wood needs a proper acclimation test before you even think about grabbing the nailer. Have you ever noticed your floorboards starting to ‘tent’ or buckle in the corners during the humid months? It is a total nightmare, isn’t it?
Is a gap this small actually enough to stop buckling?
It might seem insignificant, but that tiny sliver of space is the difference between a floor that lasts forty years and one that fails in four months. While the National Wood Flooring Association (NWFA) often recommends a gap equal to the thickness of the flooring itself for large spans, the ‘Penny-Gap’ serves as a vital ‘stress relief’ valve for standard rooms. I once tried to skip this on a small hallway, thinking it was too narrow to matter, and I ended up having to perform a floating joint fix just to get the door to swing shut again. Trust me, the pennies are cheaper than the repairs. Once the floor is in, you can use the inside corner cope technique for your trim to hide that gap perfectly, leaving you with a pro-level finish that looks tight but has all the room it needs to survive the seasons.
Fix Every Subfloor Squeak Before the Planks Go Down
Before you lay a single piece of wood or tile, you have to treat the subfloor like the foundation of a skyscraper. I once rushed into a bedroom install, ignoring a tiny chirp near the closet. Two months later, that chirp turned into a groaning floorboard that woke my wife up every morning. I had to learn the subfloor screw routine for stopping floor squeaks the hard way—by ripping up finished work. Now, I walk every square inch of the room. If I feel a dip or hear a groan, I don’t just throw a rug over it. You can often level a subfloor dip without removing the old subfloor by using a high-quality self-leveling compound or shims. If you’re working over a concrete slab, remember that moisture is your enemy; always check the vapor seal requirement for luxury vinyl on concrete to prevent your beautiful new floor from warping from the bottom up. 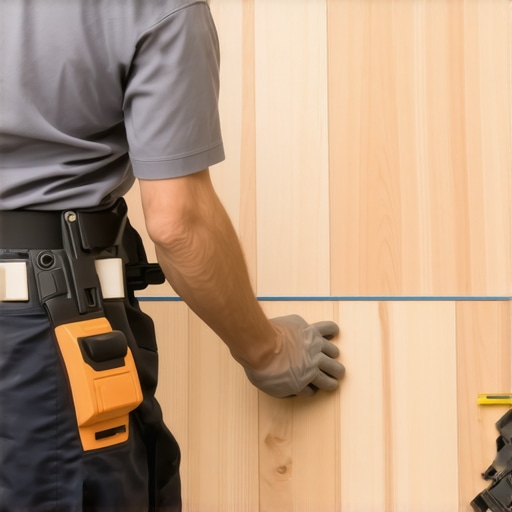
Ditch the Wall and Trust a String Line Instead
Most people start their first row by pushing spacers against the starting wall. Here is the problem: almost no wall in any house is actually straight. If your first row is off by even an eighth of an inch, by the time you reach the other side of the living room, your rows will look like a set of crooked teeth. I stopped trusting walls years ago and started using the string line trick for perfectly straight hardwood rows. Snap a chalk line or pull a tight string across the longest run of the room. This gives you a true north to follow. If you are working with transitions between different materials, like wood to tile, use the feather edge secret for smoothing subfloor transitions to ensure there is no height ‘lip’ that trips your guests. It’s about creating a plane that is as flat as a billiard table.
Handle the Transitions Like a Seasoned Pro
The hardest part of any step-by-step flooring installation is where the floor meets something else—a wall, a bathtub, or a carpeted hallway. When moving from a hard surface to a soft one, you have to know how to hide a transition strip between carpet and tile so it looks intentional, not like an afterthought. In bathrooms, the stakes are even higher. I’ve seen gorgeous floors ruined because someone didn’t use the silicon bead secret for waterproofing baseboards in bathrooms. Without that seal, moisture from the shower seeps under the baseboard and rots the edge of your new planks. If you’re tackling a carpeted area nearby, don’t skimp on the stretch. Using the power stretcher move to fix loose carpet bubbles during the initial install is the only way to avoid those annoying ripples that appear a year later. Every transition is an opportunity for the floor to fail, so take the extra ten minutes to get the ‘bridge’ between rooms exactly right.
Why You Should Stop Mitering Your Inside Corners
Most homeowners think a miter saw is the solution for every corner in the house. It’s a classic mistake. If you want a pro-level finish, you need to understand that walls are almost never a perfect 90 degrees. If you miter your inside corners, you’ll find that your baseboard miters keep gapping in the winter as the house settles. The real secret is the cope. By cutting one board square and ‘coping’ the profile of the second board to fit over it, you create a joint that stays tight even when the walls shift. For those sticking with miters on outside corners, always use the back-bevel move for tight baseboard miters to ensure the front edge makes contact first. It’s a nuance that separates a ‘weekend project’ from a lifelong installation.
The Expensive Myth of the Thickest Carpet Pad
There is a common belief that the thicker the carpet pad, the more luxurious the floor will feel. This is a trap that can ruin your investment. In my experience, a pad that is too thick actually causes the carpet backing to flex excessively, leading to premature delamination. According to the Carpet and Rug Institute (CRI), a residential pad should generally not exceed 7/16 of an inch. If you go thicker, you will find that your carpet pad is too thick for the tack strip, preventing the teeth from gripping the carpet properly. For a truly professional result, focus on density over thickness. Following carpet install secrets like using a high-density 8-lb pad will provide better support and prevent those dreaded ripples. 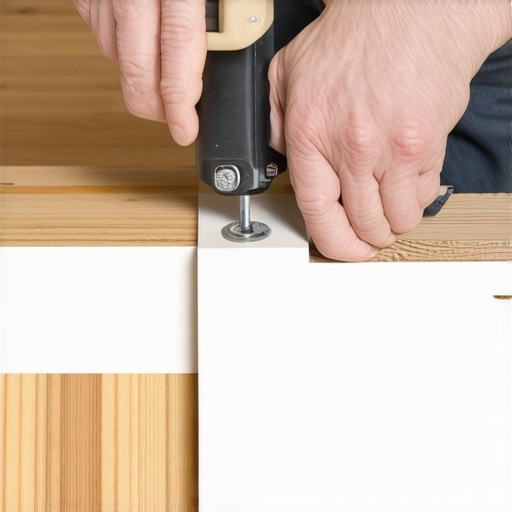
Grout is Not Your Waterproofing Savior
One of the most dangerous myths in bathroom remodeling is that grout and tile are waterproof. They aren’t. Grout is porous, and moisture will eventually migrate through it. If you haven’t built a ‘tanked’ system behind the scenes, you are just waiting for a mold problem. I’ve seen countless projects fail because someone skipped the flood test secret for guaranteed leak-proof showers. You must plug the drain and fill the pan for 24 hours before a single tile is laid. If the water level drops even a fraction, you have a leak. Don’t wait until the ceiling below starts dripping to find out you need to stop shower pan leaks at the source. Using the dry-pack secret for rock-solid shower subbases ensures your slope is perfect, but the membrane is what keeps the water in the pipes.
Why does my shower floor feel ‘spongy’ even though the tile is new?
A spongy feeling underfoot usually indicates that the mortar bed (the ‘mud’ under the tile) was saturated with water and didn’t have a chance to dry, or worse, the subfloor is rotting because the waterproofing was compromised. This often happens when the weep holes in the drain assembly get clogged with thinset. If you’re experiencing this, it’s a sign that the structural integrity is at risk. Mastering a durable flooring installation means respecting the chemistry of the materials as much as the aesthetics. Have you ever fallen into this trap or noticed a ‘squish’ in your shower floor? Let me know in the comments.
The Two Tools That Keep Me From Guessing
I used to think I had a ‘calibrated eye,’ but after misaligning a row of subway tile by just a sixteenth of an inch, I realized my eyes are liars. Now, I never start a bathroom project without 12-foot self-leveling cross-line laser. Using the laser level move for perfectly horizontal shower tiles is the only way to ensure your grout lines don’t slowly dive toward the floor as you work around the room. It’s also my secret weapon for setting baseboards in large rooms; a quick laser line across the wall tells me exactly where the floor dips so I can scribe the trim perfectly. Just as important is my moisture meter. If you’re doing a basement or a kitchen, the moisture meter requirement for basement flooring jobs isn’t a suggestion—it’s your insurance policy. I once saw a gorgeous bamboo floor turn into a series of canoes because the installer didn’t realize the concrete slab was still off-gassing. Don’t be that guy. Spend the fifty bucks on a meter and know for sure. 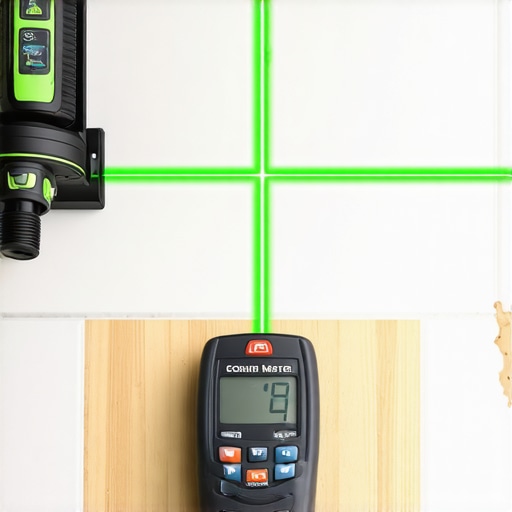
How do I keep my floors looking brand new for decades?
The first six months are easy; it’s year five that tests your installation. For hardwood, maintenance is about defense. I am obsessed with the felt pad routine for every single piece of furniture. If it touches the floor, it gets a pad. For cleaning, forget the heavy wet mopping. I follow the microfiber mist rule for cleaning matte floors to prevent water from sitting in the joints and causing the edges to swell. In the shower, the battle is against mineral buildup and mold. Even the best installation needs help, so I always use the deep-seal tactic for porous natural stone showers every year. According to the Tile Council of North America (TCNA) Handbook F113-21, proper maintenance of the grout-to-tile interface is the most critical factor in preventing long-term sub-surface moisture damage. If you see a crack in the grout, don’t ignore it; that is an open door for water.
Where the Flooring Industry is Heading in 2025
As we look toward top trends in installation for 2025, I predict we are going to see a massive shift toward ‘smart’ subfloor sensors that can alert your phone if a leak starts under your shower pan or behind your baseboards. Until that tech becomes standard, your best bet is a rigorous installation process and a solid maintenance schedule. If you want to level up your game today, I challenge you to try the blue tape trick for cleaning up silicone beads on your next bathroom project. It’s a simple move that results in a cleaner, more professional seal that resists mold much better than a messy, smeared bead ever could.
Three Hard Truths I Learned After My First Massive Failure
Through years of trial and error, I have realized that wood movement isn’t just a suggestion—it is a physical law. If you do not respect the perimeter, the humidity will eventually win, which is why I now live by the ‘Penny-Gap’ rule for every durable flooring installation. I used to think I could cheat a little in the corners, but common flooring installation mistakes like that always come back to haunt you when the seasons change and boards start to buckle. Another vital lesson is that prep work feels like a waste of time until the floor starts to creak underfoot. Every minute I spend on the subfloor screw routine for stopping floor squeaks is actually an hour of sleep saved in the future. Finally, remember that waterproofing is invisible, which makes it easy to ignore. I never skip the flood test secret for guaranteed leak-proof showers anymore; seeing that water stay level for 24 hours is the only way to know you won’t be performing shower repairs in a few years. #IMAGE_PLACE_HOLDER_E#
Gear That Saves My Back and My Sanity Every Time
If you are serious about getting pro-level results, you cannot rely on a tape measure alone. My 12-foot laser level is my absolute best friend for achieving perfectly horizontal shower tiles without the rows diving. I also highly recommend investing in a professional-grade moisture meter; it is the only way to verify that your subfloor is ready for a carpet install or hardwood layout. For the finishing touches, I always keep a coping saw nearby. Mastering the inside corner cope for perfect baseboard installs will make your DIY work look significantly better than most developer-grade homes. These tools are the bridge between a project that looks ‘okay’ and one that looks like a masterpiece.
Your Journey to a Perfect Finish Starts Now
Taking on your own flooring or bathroom project is intimidating, but remember that even the most seasoned pros started with a single crooked plank. By following expert flooring installation tips for 2025, you are not just laying down materials; you are building the foundation of your home’s comfort and long-term value. Don’t be afraid to take it slow, double-check your measurements, and trust the process. Success is found in the details that most people never see, like the seal under the baseboard or the screw in the joist. Have you ever run into a surprise subfloor issue or a tricky corner that almost derailed your project? Let me know in the comments below!